
Knitting Tutorial: Long Tail Cast On
I have made posts about the long tail cast on earlier, but then the focus was on knitting in the round. Today we’re focusing on the cast on itself!
In Sweden, where I live, it’s common to start with the long tail cast on when learning to knit and I learned it in school when I was about ten years old.
And I can see why it’s taught to beginner knitters. It’s easy to do and produces stitches that are easy to manage as long as you don’t make them too tight!
The long tail cast on is also rather quick to make compared with many other techniques to add stitches!
Why is it called the Long tail cast on?
Because of the way the long tail cast on is worked. You start with a slip knot too attach the yarn to the needle. Then you use two strands of yarn.
There’s the working yarn that comes from your skein. And then there’s the long tail that’s the strand of yarn hanging from your needle.
That means you need a LONG tail to work this cast on.
This is different from a the knitted or the backloop cast ons, where the tail just needs to be long enough for weaving in.
This part of the long tail cast on can be a bit frustrating. It’s not fun at all when you cast on a bunch of stitches and recognise that the long tail isn’t long enough for the amount of stitches you need.
So how do you know how long your long tail needs to be? There’s a bunch of ways to estimate this. So many actually that it’s subject for a blog post on it’s own.
The cast on counts as the first row
It’s not only a quick way to add stitches, it creates the first row of your knitting at the same time!
The long tail cast on creates stitches that are attached to a chain, which makes a nice and tidy edging at the bottom of your work. This chain counts as your first row
How to avoid casting on too tight
Long tail cast on can be a bit tight, and you need to watch out so you don’t end up with a cast on edge that doesn’t allow your knitting to stretch. This is especially important when knitting ribbing stitches.
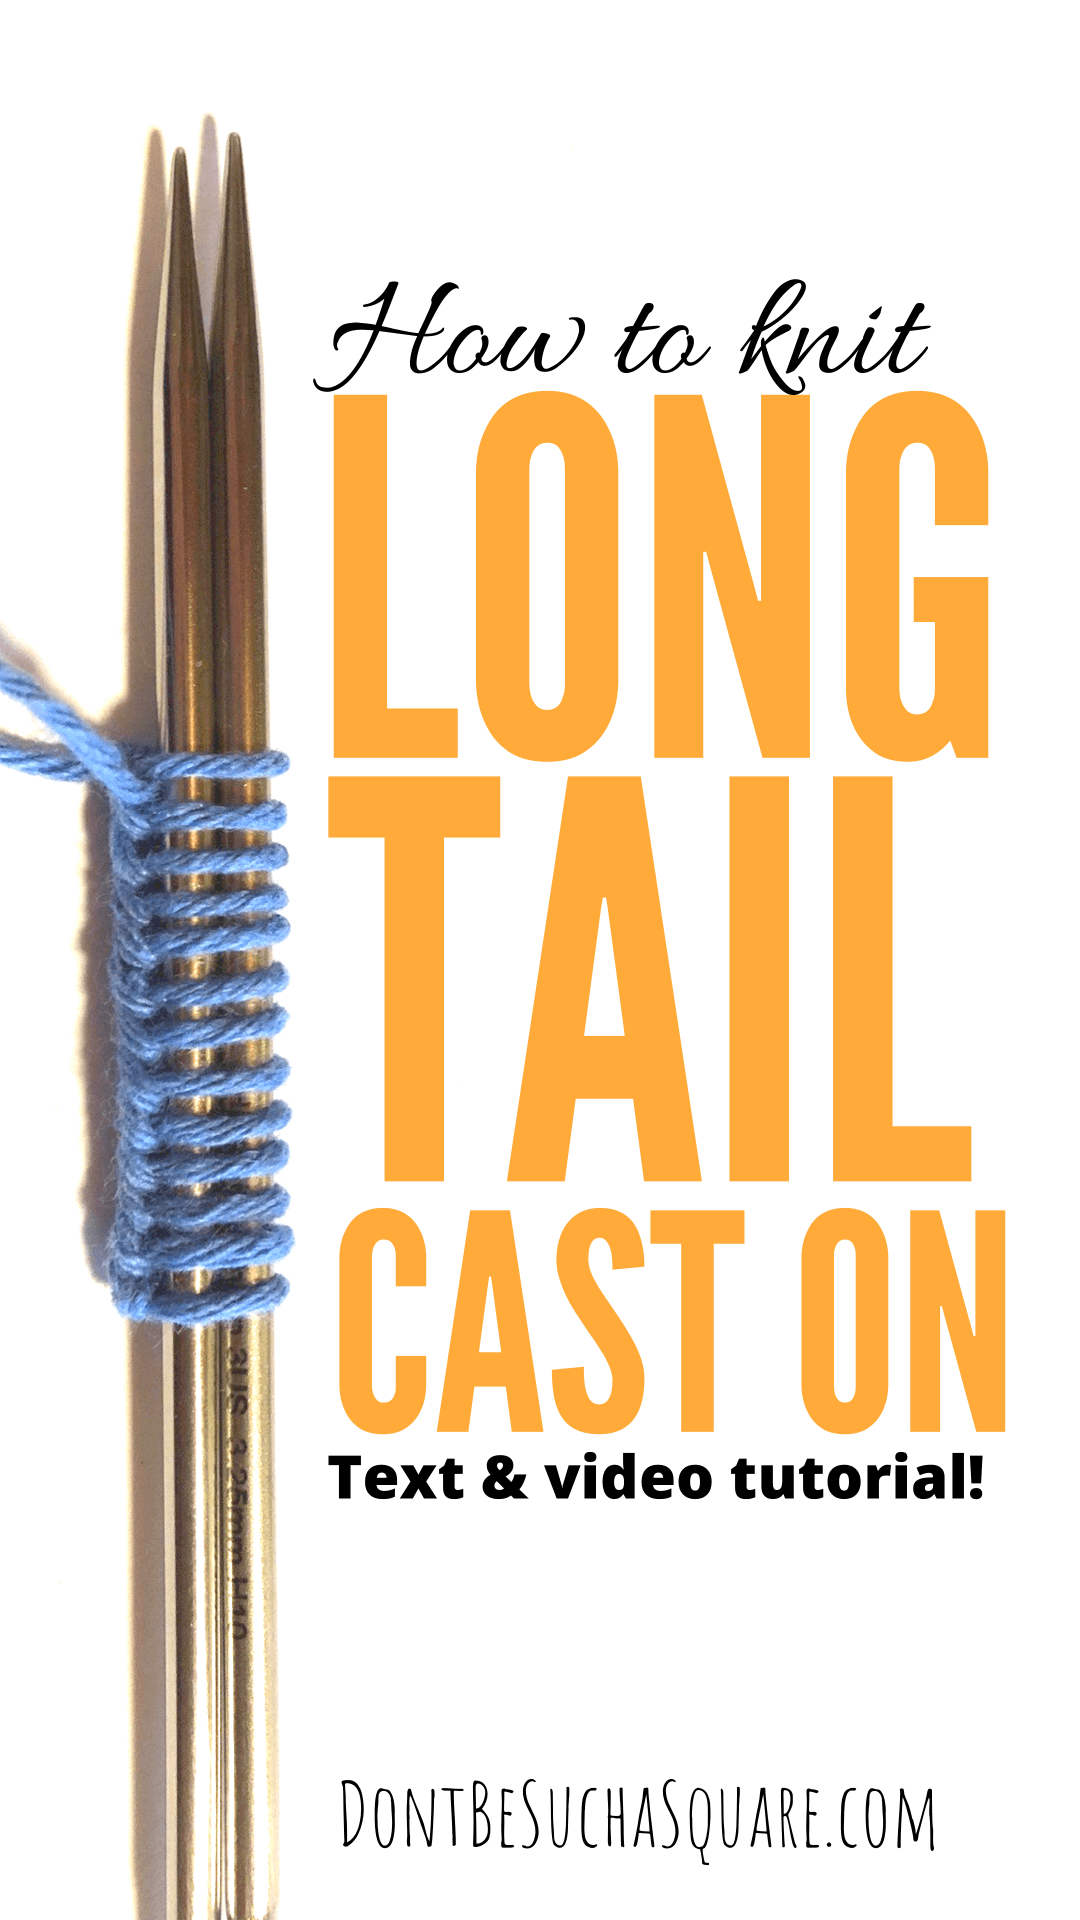
To avoid casting on too tight (with too little yarn in your cast on) you can cast on over two needles. I do this all the time because I tend to pull the stitches a little too much.
Hold your two needles together and use them as one when casting on two stitches and pull one of them out when you’re ready to start knitting.
If using two needles is too much for you and you end up with a sloppy edge, try using one needle instead, but of a bigger size than you’re planning to knit with.
Knitting video: Long Tail Cast-on
Every time I get a new subscriber to my youtube channel it makes me smile. So if you wanna put a smile on my face today and watch some knitting tutorials at the same time please subscribe to my channel 🙂
How to do the Long tail cast on
First step
The first step is to tie a slip knot. The slip knot is counted as a stitch, so now you have made your first stitch already!
You find a tutorial on how to make a slip knot in this post!
If you know you’re a tight knitter it’s a good idea to cast on over two needles held together. It’s no fun in trying to knit your first row with super-tight stitches. And it’s no fun if the edge gets too tight to stretch with your fabric either!
Second step
Hold your yarn in the left hand with the tail over the thumb, and the working yarn over your index finger. Both strands are then held in place and tensioned with your other fingers.
The needle(s) should be in your other hand.
Third step
Insert you needle tip under the strand that is in front of your left thumb. Then move the needle tip into the loop created by the tail yarn.
Fourth step
Now you should pick the working yarn and bring it with you back through the yarn loop to form the first stitch. Tighten the stitch if needed, but not to much!
Repeat the third and forth steps to make more stitches.
More cast on methods to try!
––> Chinese Waitress cast on
––> Adding stitches in the middle of a project
––> Provisional cast ons