
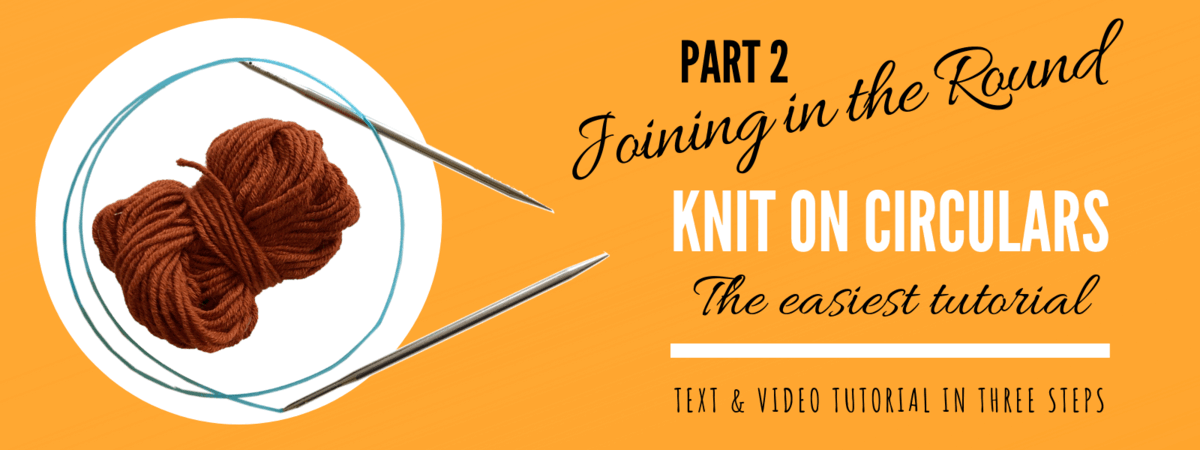
The Circular Knitting Needles Tutorial – How to join and knit in the round
Welcome to the second part of the Knit on Circulars – the Easiest Tutorial serials!
In the first part, we learned how to do the long tail cast on with circular knitting needles.
Now it’s time to join our stitches in a circle and start the actual knitting. Are you excited? I know I am!
More posts on Circular Knitting Needles!
Circular Knitting Needles for beginners – How do they work and what’s so good about them? This post answers all your questions about circular knitting needles!
Pain when knitting? 7 ways to avoid pain as a knitter This post gives you seven tips on how to avoid and ease pain gained from knitting. One of them, the one that has helped me the most, involves circular needles!
Interchangeable knitting needles – my favorites! This article goes through the pros and cons of Interchangeable needles. As the header of the article reveals, I see more of the pros. Click to know all the perks of interchangeable knitting needles!
How to join knitting in the round
If you like my knitting videos please subscribe to my channel on YouTube!
If you rather read a tutorial than watch a video scroll down a bit!
When you have done the cast on, added stitches to your needle, it’s time to join your first and last stitch together to form a circle.
- To do this begin by spreading out your stitches along the needle. You want to have the first stitch at one tip and the last at the other.
- Be sure to check that your stitches haven’t twisted!
- Hold the tip with the working yarn (the yarn attached to the yarn ball) and the long tail (the tail left from the cast on) in your right hand and the other tip in your left hand.
- Hold the working yarn as you’re used to, I’m a picker so I hold mine over my left index.
- The other yarn tail can either be held in the right hand to help with tension in the join. Or, as I tend to do be knit into the first few stitches along with the working yarn. The benefit of doing this is that the tail will be locked in those stitches and I think that helps keep the join tidy. The con of knitting the tail in is that it can be a bit bulky. In some projects that matter, in others, it doesn’t.
- Knit the first stitch from your left needle and pull the yarn a bit to tighten the join. Check that your knitting with the working yarn and not the long tail. I do that mistake a lot. And it’s quite irritating!
- Knit the rest of your stitches, and you have completed your first row!
Now all you have to do is keep on knitting until you need to finish your piece off!
Well done!
Now you have learned how to join your knitting in the round and how to knit on circular knitting needles! In the third part of this mini-series, which is also the last, we will learn to bind off knitting and weave the ends in! Until then! 🙂
Here are some other posts that may interest you!
Circular Knitting Needles for beginners – How do they work and what’s so good about them? This post answers all your questions about circular knitting needles!
Pain when knitting? 7 ways to avoid pain as a knitter This post gives you seven tips on how to avoid and ease pain gained from knitting. One of them, the one that has helped me the most, involves circular needles!
Interchangeable knitting needles – my favorites! This article goes through the pros and cons of Interchangeable needles. As the header of the article reveals, I see more of the pros. Click to know all the perks of interchangeable knitting needles!
Please click here to follow Don’t Be Such a Square on Pinterest!
