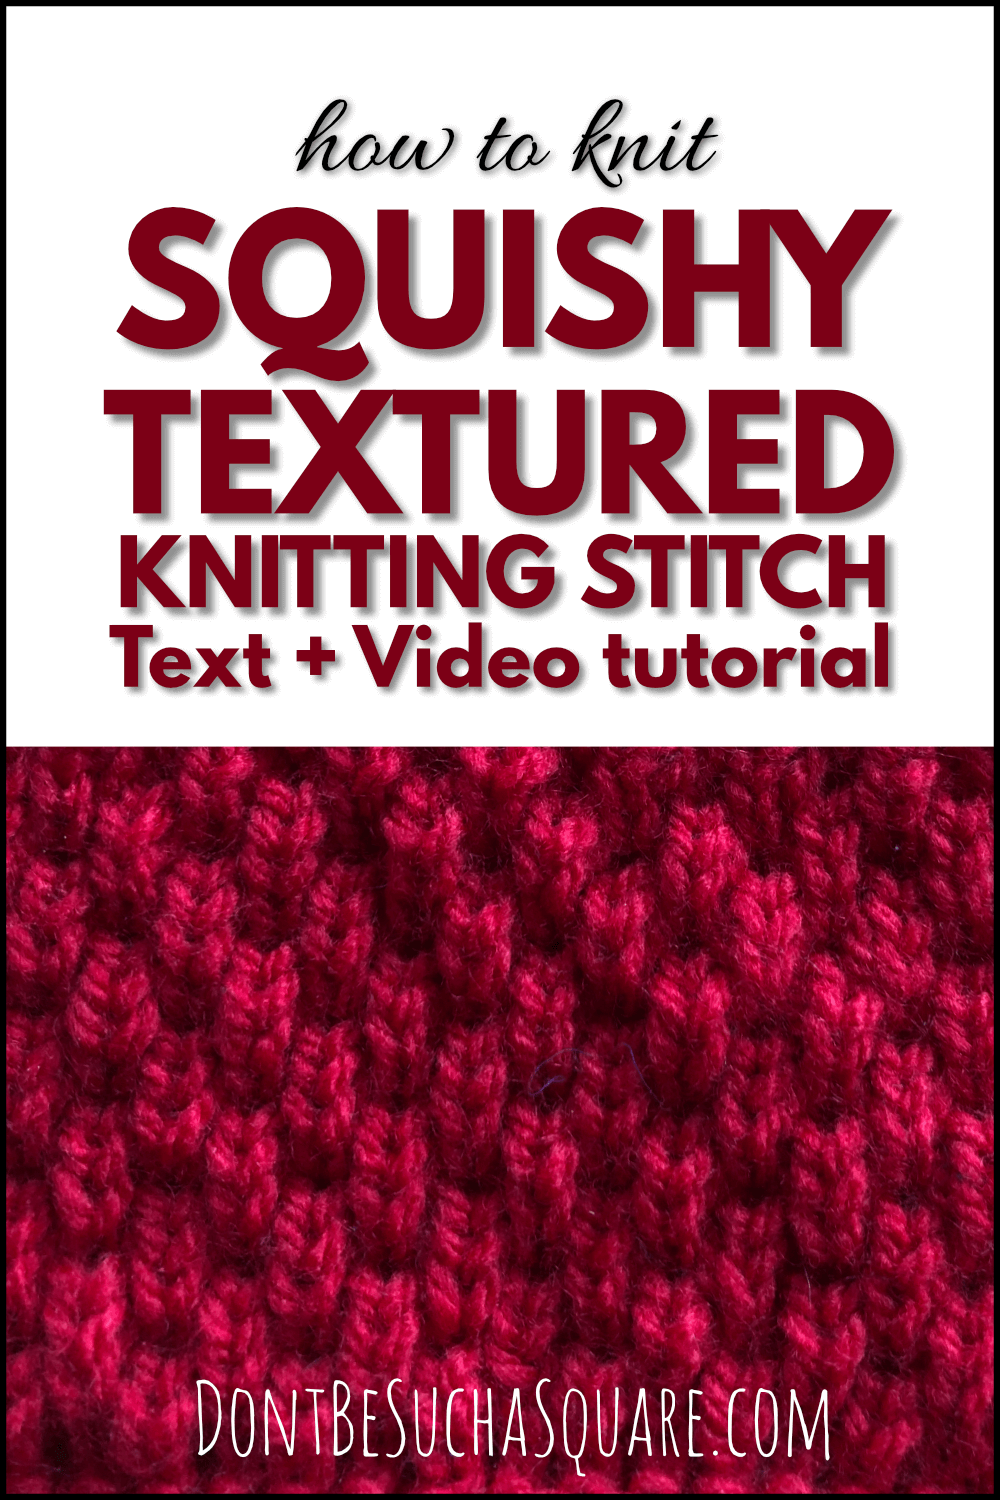
This textured stitch pattern turns out very squishy. It’s also easy and fun to knit but looks pretty advanced. And, did I mention it’s squishy?! I love everything squishy…
When to use this stitch pattern
This squishy stitch pattern is elegant enough to be added to almost everything. From clothing to home decor!
It looks great on all types of accessories like scarves, cowls, mittens, and hats. But it looks just as stunning on a sweater, cardigan, or vest.
This is perfect for sprucing up your living room when added to pillows, throws, or even a cotton table cloth!

Knitting video: Squishy textured knitting stitch pattern
I post new knitting videos regularly, subscribe to my YouTube channel so you don’t miss the good stuff 🙂
Written pattern: Squishy textured knitting stitch – Flat
You need an even number of stitches for this pattern to work + at least one edge stitch on each side.
This pattern uses the knit below technique. I have a tutorial on how to knit below here if you need to take a look at it!
Note 1: This pattern takes a couple of repeats to really show, so don’t give up too early!
Note 2: I’ve noticed that it looks better if you have a tighter tension. At first, my swatch was sloppy rather than squishy, but that was easy solved by changing to smaller needles!
The stitch pattern:
Row 1: Purl all stitches
Row 2: Knit all stitches
Row 3: Purl all stitches
Row 4: *K3B, K1*, repeat *–* to the end of row
Row 5: Purl all stitches
Row 6: Knit all stitches
Row 7: Purl all stitches
Row 8: *K1, K3B*, repeat *–* to the end of row
Repeat for as long as you need, or want 🙂
Written pattern: Squishy textured knitting stitch – In the round
You need an even number of stitches for this pattern to work.
This pattern uses the knit below technique. I have a tutorial on how to knit below here if you need to take a look at it!
Note 1: This pattern takes a couple of repeats to really show, so don’t give up to early!
Note2: I’ve noticed that it looks better if you have a tighter tension. At first, my swatch was sloppy rather than squishy, but that problem was solved by changing to smaller needles!
The stitch pattern:
Round 1–3: Knit all stitches
Round 4: *K3B, K1*, repeat *–* to the end of row
Round 5–7: Knit all stitches
Round 8: *K1, K3B*, repeat *–* to the end of the round
Repeat for as long as you need!
Your next read:
––> The knit and purl stitch pattern library
––> Beginner lace knitting stitch patterns
––> Easy mock cables